


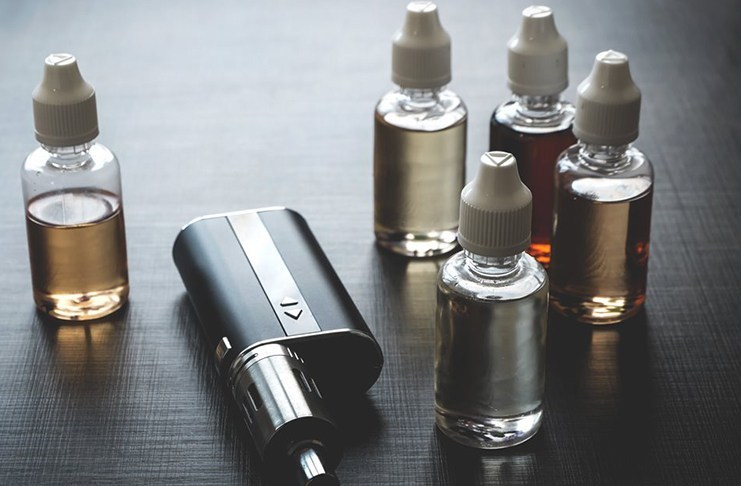
A Vape Liquidizer is a great investment, not only for the novice who is just beginning to try the wonderful world of electronic juice but also for the more experienced user who wants to have more control over his or her vaping experience. Vape liquids are different from your traditional vaporizers in that they don’t need any kind of special maintenance. That’s a good thing! It means you can enjoy your Vape without worrying about damaging it and causing damage to your body. We’re going to go over some of the basic parts of a Vape to help you understand exactly what it is you’re buying and how to care for it.
The Heating Element That Serves as an Important Factor
The main thing you will need to look at when buying a Vape is the heating element. This part is called the heating element or heat sink and it sits directly on the coil. You’ll want to make sure that there is not a lot of room around the heating element because it can actually get a little dangerous if you don’t watch what you are doing. When you first buy your Vape, ask the store attendant how often the coils need to be changed. Usually they only need to be replaced every two weeks.
The Melting Coil Process
After the coils are changed, make sure that you rinse out the bottle. You should also clean the heating element. This part may seem a little gross, but you have to clean it so that no bacteria or germs can grow on it and infect your new concentrate liquidizer. Once everything is cleaned and sanitized, you’re ready to refill the bottle. Simply fill it up with more juice and keep it in a place where it won’t get dusty.
After you have refilled the bottle and put it away, you’ll want to remove the wax seal. On the inside of the bottle, you’ll see the wax seal. You’ll need to gently slide the bottle out and discard the wax. The next thing that you’ll want to do is inspect the heating element. If it looks damaged or melted, you can safely discard it. Make sure to keep a close eye on this part as you replace the coil on the Vape Liquidizer.
If everything checks out, then you’re almost done. What you need to do next is to heat the heating element up. This may require some patience and a steady hand, but when you do it, you’ll notice that the coil will start to melt. When the coil melts, you’ll need to use pliers to pull the coil towards you.
When you are pulling the coil, be sure to keep an eye on the coiling process. As you go along, you should keep on twisting the coil until it breaks. This will make the coil very hot. Be careful not to burn yourself! Once the coil is broken, you should be able to remove it without burning yourself.
After you’ve removed the damaged coil from the heating element, you will need to place it back into the heating element. This might need some more patience, but you will soon notice that the coil will be fully reinstalled. At this point, you will need to place the new coil within the plastic tube on the Vape Liquidizer.
The next step is to follow the instructions that came with the Vape Liquidizer. Once you’ve placed the coil within the tube, make sure that you screw the lid on tightly. This is important because you don’t want the oil to spill onto the liquidizer. If this happens, all you need to do is to take out the glass tube and clean the coils. You’ll notice that the process was quite easy.